booq POS
Backoffice
Start and login
Articles
Products
Adding a product and sending the changes to the front office
Adjusting product details
Adjusting product details in the list view
Assigning allergens and additives to products
Assigning sales restrictions to products and product groups
Creating composites out of multiple articles
Finding products with the search and filter function
Manage products and create new ones
Setting up production order
Product groups
Price levels
Menus
Adding and managing derived menus
Managing and arranging menus (incl. sub-menus)
Setting up menus for specific areas and times
French menus
Option menus
Price management
Periods
Promotions
Finances
General
General
Production stations
Facilities
Cash stores
Printers
Adding and managing printer
Manual set up of a buzzer/ zoomer
Printing production ticket in chronological order
App links
Table map
Users
User groups
POS devices
Courses
Customers
Currencies
Turnover groups
Translations
Payment
Self-service
Time schedules
Sales channels
Activating the Pay on pick-up functionality
Adjusting the appearance of the kiosk
Adjusting the appearance of the sales channel
Changing payment settings
Setting up the imprint for a sales channel
QR codes
Creating QR codes for the self-service
How to reorder via a QR code on the table (customer perspective)
Applying menu planner for a self-service sales channel
How can I configure random spot checks on my self-service POS/Grab and Go POS?
App
Installation
Connecting the booq POS app to your system
Installing the booq POS App on your device
Updating your booq POS App
App-functions
Adjusting the stock information of a product on your device
Disable ticket printing
EFT devices
Facilities
Print reports
Reopen order
Search order
Self-service status
Shift management
Tipping registration
Web links
Working with the app
An overview of the general functions for an open table
App sign in/out
Block view
Checkout
Flexible payment during visit
Frenchmenu
Open table
Product functions
Recycling
Screen features
Splitting or moving a table
Table functions
Table map
Waiter App - Splitting or moving a table
Settings
Interfaces
booq POS onboarding
booq POS Lite
booq BI
booq Self-service
booq Giftcard
booq Payment
Have a payment QR code printed by default
How do I modify the QR Payment messages?
Show QR code
Unexpected payments
FAQs
Internals
- All Categories
- Internals
- POS
- Install/Setup/Update
- booq POS Lite
booq POS Lite

Boarding a server
- Connect the server with power, network and a display, keyboard and a mouse.
- Wait till start up.
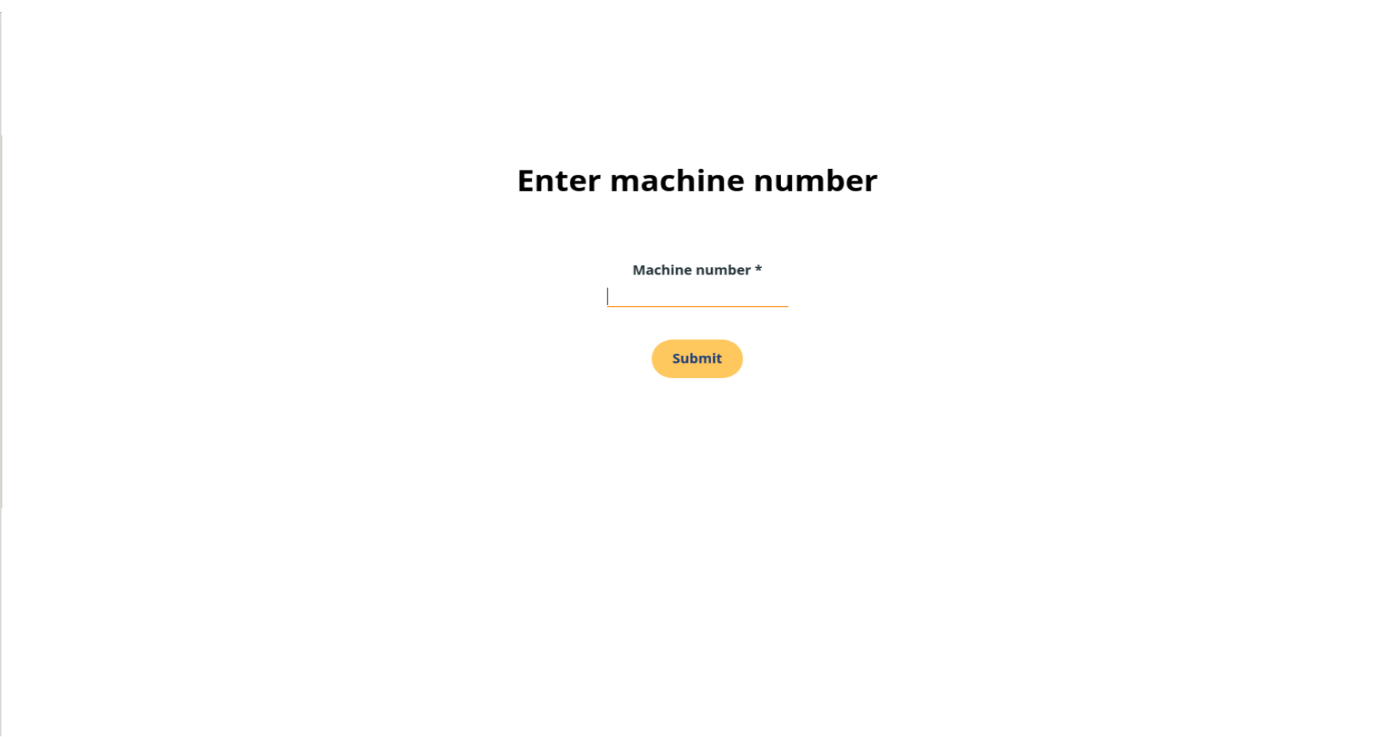
- If you get a page with "Enter machine number" add the machine number and press Submit.

- The system is now being configured
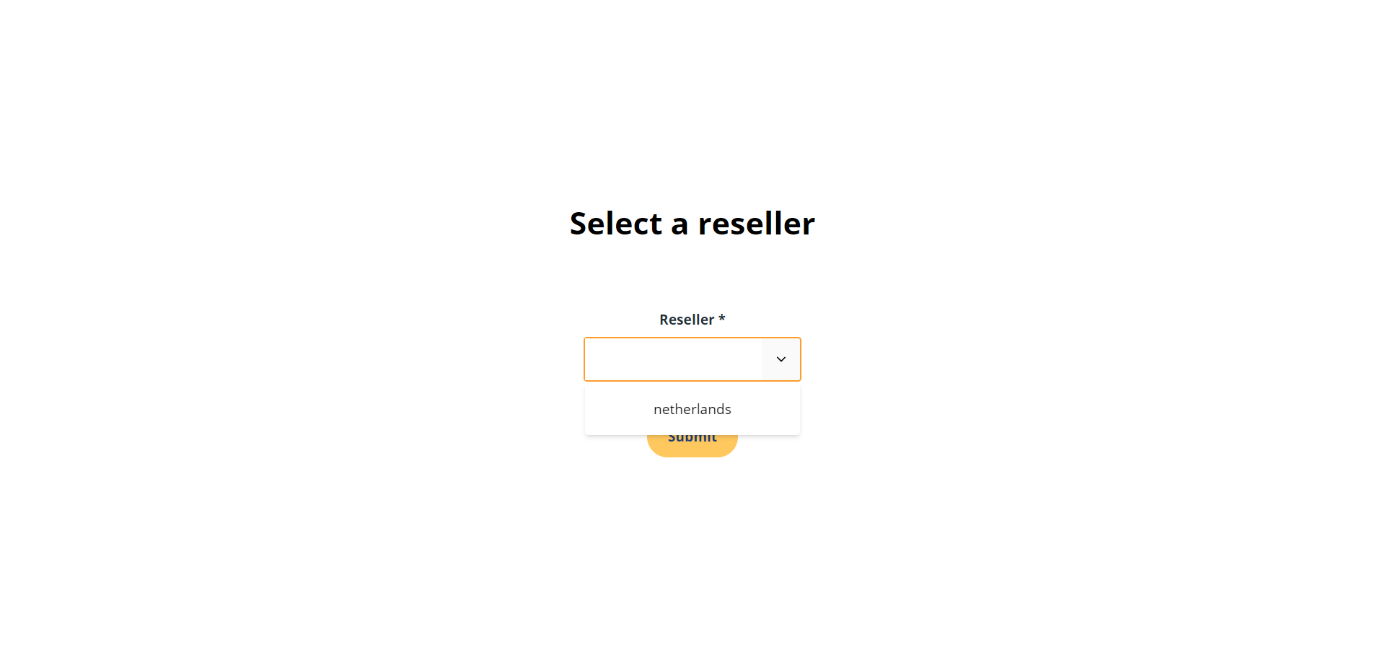
- Select the right reseller,
Appliance Enrolment
Once you have selected the machine number and reseller via the screen, the appliance will become visible in the portal. If you have not yet completed these steps, see Fleet Management - Boarding a server
- Log in to the support portal
- Click on Appliance Enrolment
- Enter your machine number in the search screen
- Click on your machine

- Enter the following information:
- Choose your appliance type (booq POS Lite V2)
- Username enter the KH number from My Eijsink
- Password enter the password from My Eijsink
- Press Enroll Appliance
- The system is now provided with the correct data
- The server will automatically set up an SSID with the name Eijsink_[machine number]
- The password to this SSID is the My Eijsink Password
Configure Sunmi D3 Mini
- Unbox the device
- Start up the device
- Press the >-button
- Select the preferred language
- Privacy Service, press Agree
- Connect to Wi-Fi: The device can be connected via Ethernet cable or Wi-Fi for activation. At the customer, only Wi-Fi is used.
- Copy apps & data: Press Don’t copy
- Sign in with Google account: Skip
- Confirm Skip
- Google services: Scroll down and press Accept
- Set a pin code: Press Skip
- The screen shows: “Skip setup for PIN and fingerprint?” Press Skip
- On the next screen, the device will be activated. Internet is needed for this step.
Finetune settings
- Delete the pictograms from the bottom screen by a long press and drag them to Delete.
- Scroll up from the bottom of the screen to go to the application overview
- Select Settings
- Go to Sound
- Switch off Media volume by sliding the slider to the far left
- Switch off Notification volume by sliding the slider to the far left
- Go to SunmiPrinter on the left side by scrolling down and selecting it
- Select Sunmi Inner Printer
- Navigate to System Alert Popup and toggle this off to receive no popups about the printer’s cover and paper status.
Switch off the customer-facing screen and NFC
- Scroll up from the bottom of the screen to go to the application overview
- Select Settings
- Scroll down to Customer Display and NFC Settings
- Select NFC Function
- Disable Host NFC
- Press back
- Disable Customer Display
Install and configure the booq POS application
- Scroll up from the bottom of the screen to go to the application overview
- Select App store at the top left
- Install booq POS
- After installation, drag the icon to the bottom bar of the home screen
- Open the application
- A screen appears: “Permission required: The app is updated from your booq sever and needs permission to do this”. Press Continue
- Switch on the toggle to “Allow from this device”
- Press the back-button at the top left or bottom right of your screen
- Another permission screen appears: “Permission required: The app needs permission to restart automatically after an update” Press Continue
- A list of apps is displayed that are allowed to display over another app. Select booq POS.
- Switch on the toggle to “Allow display over other apps”
- Press the back button twice to go back to the login screen
Connect your device to the Wi-Fi of the mini-server
- Swipe down from the top of the screen
- Do a long-press on the Wi-Fi network
- Search for the default network Eijsink_[machnr] and select it
- A dialogue box shows up, please insert the password. This can be found in My Eijsink and is called the Password. Press Connect when successfully inserted
- Once connected, click on the name of the network
- Optional: Scroll down to check the Gateway address. i.e. 192.168.0.1
This is also the POS server name/IP address we use in the next step
Connect and configure the POS application
- Open the booq POS application
- Go to Settings
- Select server name/IP address
- In most cases, this is 192.168.0.1
- Insert the Gateway address retrieved in the settings, in this example 192.168.0.1, and press OK
- App successfully registered should show up at the bottom of the screen.
- If this does not work, try the IP address 192.168.1.1. This is the alternative address if 192.168.0.x range is used by the customer.
- Login with an existing Pin code
- If your POS application is outdated, an update notification will show up, update the application to the provided version.
- In the next screen press Update
- The application should start up automatically after the update
- Login to the POS application with a pin code and select a cash drawer
- Go to Settings via the Menu button at the top left and scroll down
- Scroll down and select Hardware Settings under Others
- Check if the Built-in printer is toggled on
Configure Internal printer in the Backoffice
SUNMI T1 Setup
- Be the first to register the booq app on the SUMNI T1 on the server
- In the back office, go to General Management > POS Devices and click on the pencil icon next to the device named T1-G (SUNMI_T1)
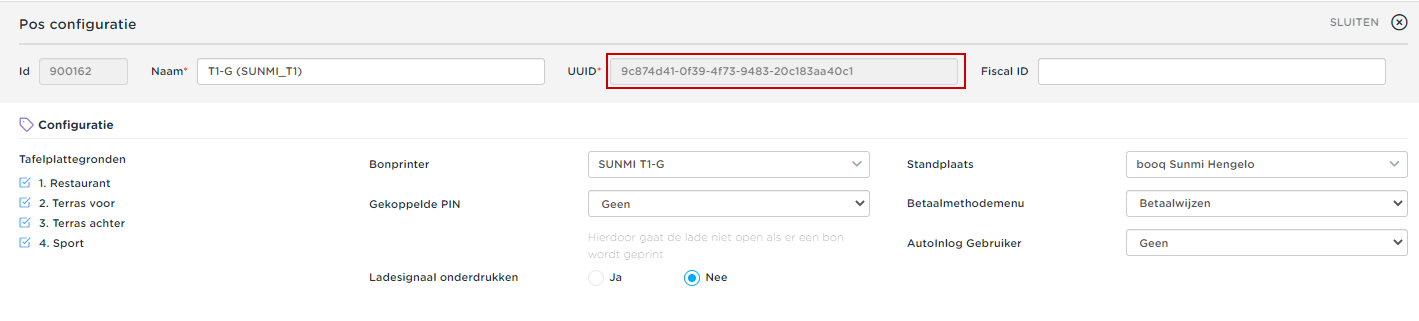
- The SUNMI settings screen will now open, from which the UUID must be copied.
- Now go to General Management > Printers
- A new printer must be created here, now press new and then POS printer.
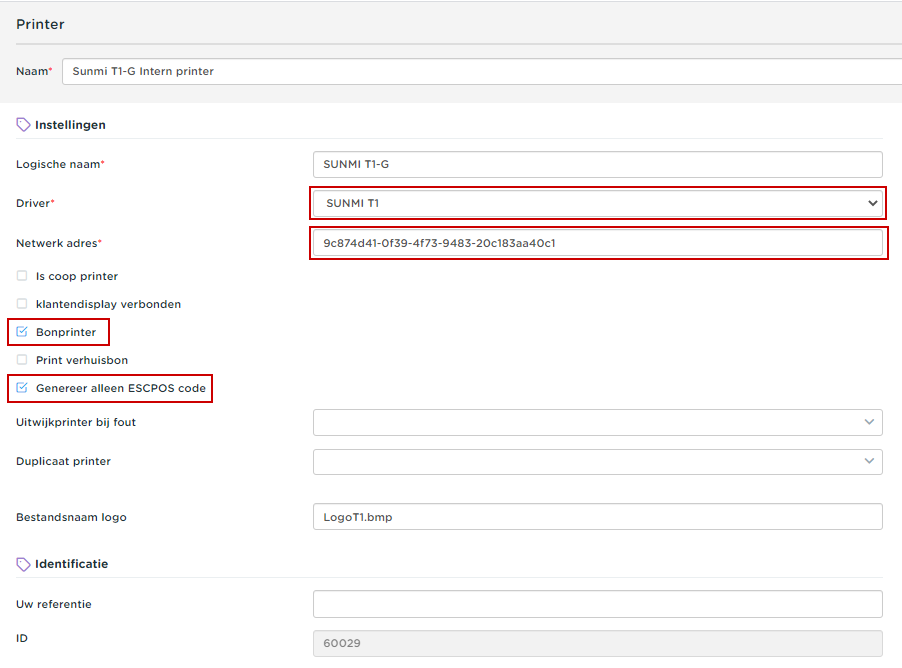
- Fill in the details
- Choose the driver SUNMI T1
- Paste the copied UUID into the Network Address field
- Check "Receipt printer".
- Check "Generate ESCPOS code only".
- Go to General Management > POS Devices and on the SUNMI T1 device
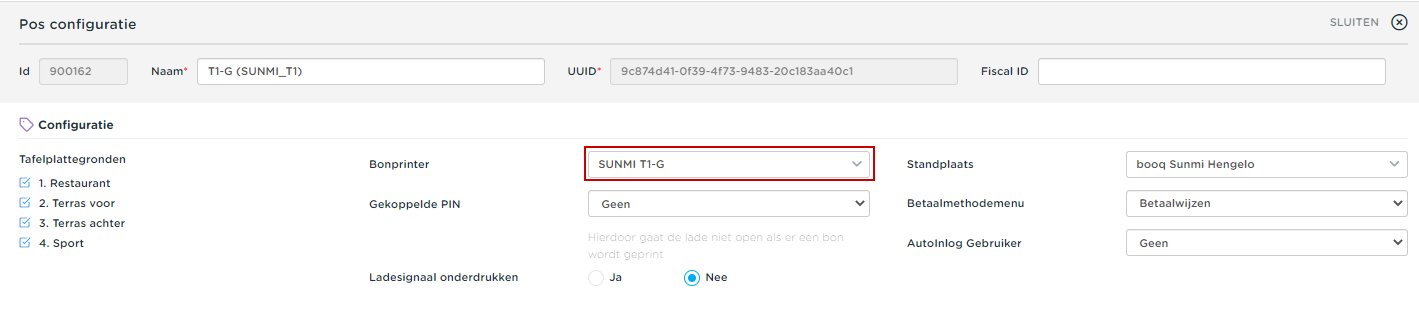
- Under Receipt printer, choose the SUMNI printer you have created
- Now open the app on the device
- Click on the hamburger menu at the top left and choose Settings
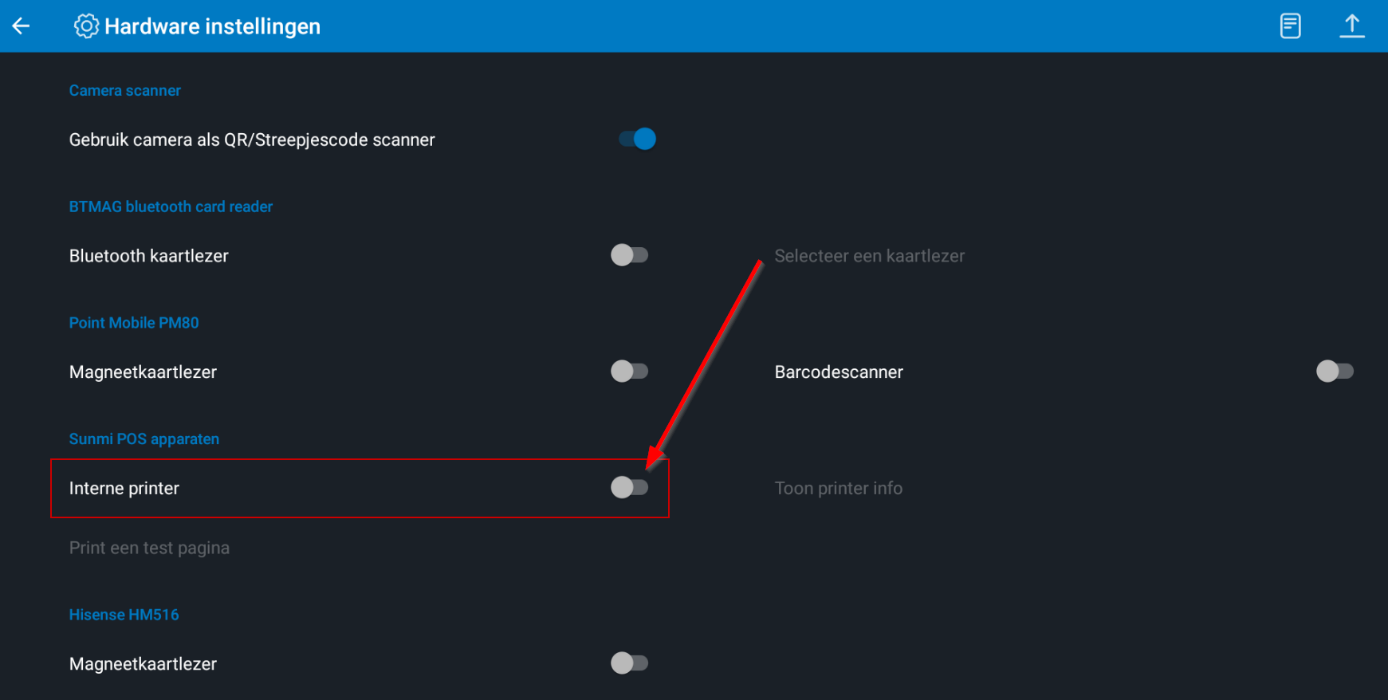
- Go to Hardware settings and check "Internal Printer".
- Now test whether an invoice is printed
SUMNI T1 Upload Logo
The Sunmi works with a BMP file. You can load this via the method below. The recommended width is 380 pixels.
- Go to the booq back office with your browser and log in.
- Change the address in the address bar to …../booq/tools and press enter
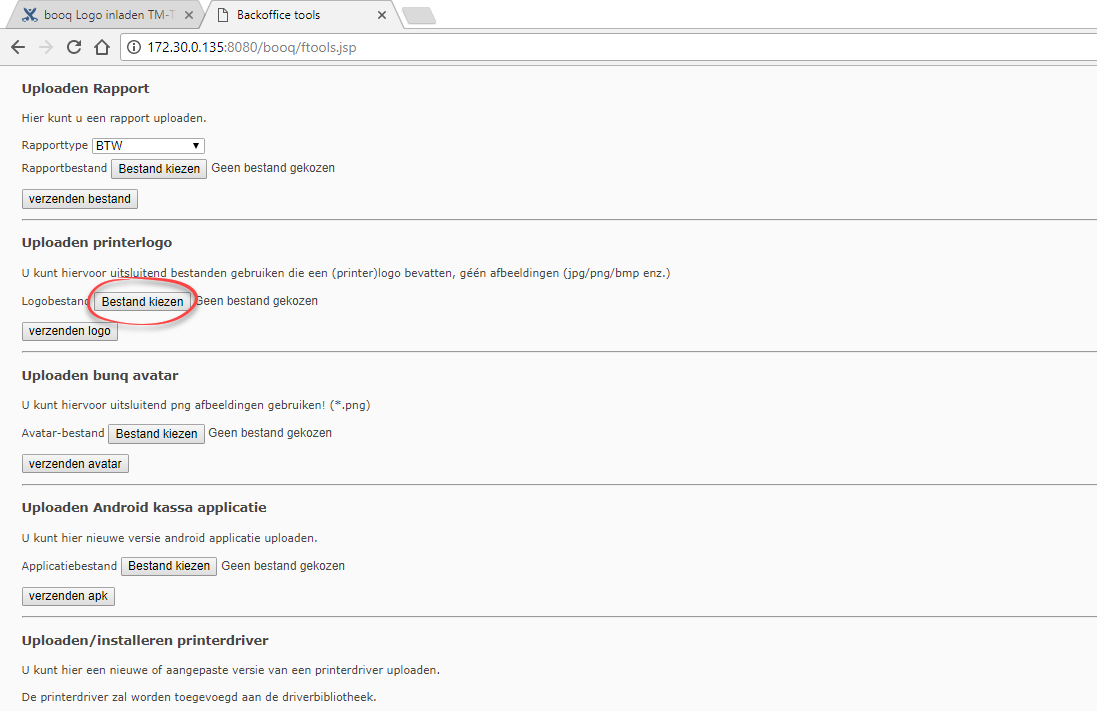
- You will arrive at a page (see image) where the logo file can be uploaded.
- Log in to the back office
- Choose General Management > Printers
- Select the Bill Printer
- Click Edit
- Under Logo File Name, enter the complete name of the logo file, for example logo.tlg
- Click Save
- Send the program